high-availability-haproxy
Setup High Availability with HAProxy
If you check the above test scenario and try to create DBs on any of the nodes, you would see that the data would automatically sync between the nodes. Which means Availability is achieved. Now to achieve high availability we will use HaProxy as the loadbalancer.
Set up another VM for this and install HAProxy as follows.
sudo apt-get update
sudo apt-get install haproxy
Edit HA Proxy Config as follows.
sudo vim /etc/haproxy/haproxy.cfg
HAProxy Destination Selection Policies
HAProxy will select a backend server to route traffic to depending on the destination route-policy configured. This is a complete list of Destination Selection Policies available in HAProxy:
- Round Robin Directs new connections to the next destination in a circular order list, modified by the server’s weight. Enable it with balance
roundrobin - Static Round Robin Directs new connections to the next destination in a circular order list, modified by the server’s weight. Unlike the standard implementation of round robin, in static round robin, you cannot modify the server weight on the fly. Changing the server weight requires you to restart HAProxy. Enable it with
balance static-rr - Least Connected Directs new connections to the server with the smallest number of connections available, which is adjusted for the server’s weight. Enable it with
balance leastconn - First Directs new connections to the first server with a connection slot available. They are chosen from the lowest numeric identifier to the highest. Once the server reaches its maximum connections value, HAProxy moves to the next in the list. Enable it with.
balance first - Source Tracking Divides the source IP address by the total weight of running servers. Ensures that client connections from the same source IP always reach the same server. Enable it with
balance source
Create the mysql user
CREATE USER 'haproxy_check'@'%';
Add the following lines below /etc/haproxy/haproxy.cfg.
sudo vim /etc/haproxy/haproxy.cfg
# Filename: haproxy.cfg
global
    log /dev/log stdout
    # user haproxy
    # group haproxy
defaults
    log global
    retries 2
    timeout connect 3000
    timeout server 5000
    timeout client 5000

listen mysql-cluster
    bind 0.0.0.0:3306
    mode tcp
    option mysql-check user haproxy_check
    option tcpka
    # The below nodes would be hit on 1:1 ratio. If you want it to be 1:2 then add 'weight 2' just after the line.
    server maria-01 10.1.10.180:3306 check weight 3
    server maria-02 10.1.10.181:3306 check weight 2
    server maria-03 10.1.10.182:3306 check weight 1

# Enable cluster status
listen mysql-clusterstats
    bind 0.0.0.0:1936
    mode http
    stats enable
    stats uri /
    stats realm Strictly\ Private
    stats auth admin:admin
Make sure to update the ip addresses of each node in the config above.
systemctl restart haproxy
Using Docker
# file: /srv/haproxy.techplayr.lan/docker-compose.yml
# purpose: to start haproxy to for active/passive mariadb load balancing over HTTP

# version: '3.3'
# name: haproxy

services:
  haproxy:
    image: haproxy:lts
    container_name: haproxy.techplayr.lan
    restart: always

    mem_limit: 512M

    ports:
      - 1936:1936
      - 3306:3306

    volumes:
      - /etc/localtime:/etc/localtime
      - ./haproxy.cfg:/usr/local/etc/haproxy/haproxy.cfg:ro
Docker Host on Proxmox LXC
Proxmox LXC containers do not use either netplan or ifupdown for setting up network interfaces. So if the docker host is a Proxmox LXC container, use /etc/rc.local for setup.
Save the below in /etc/rc.local and chmod 755 /etc/rc.local. systemd will automatically run this script on startup.
#!/bin/sh -e
# Filename: /etc/rc.local

# Alias a link-local IP to loopback so docker-containers can reach host services
ip addr add 169.254.254.169/32 dev lo

exit 0
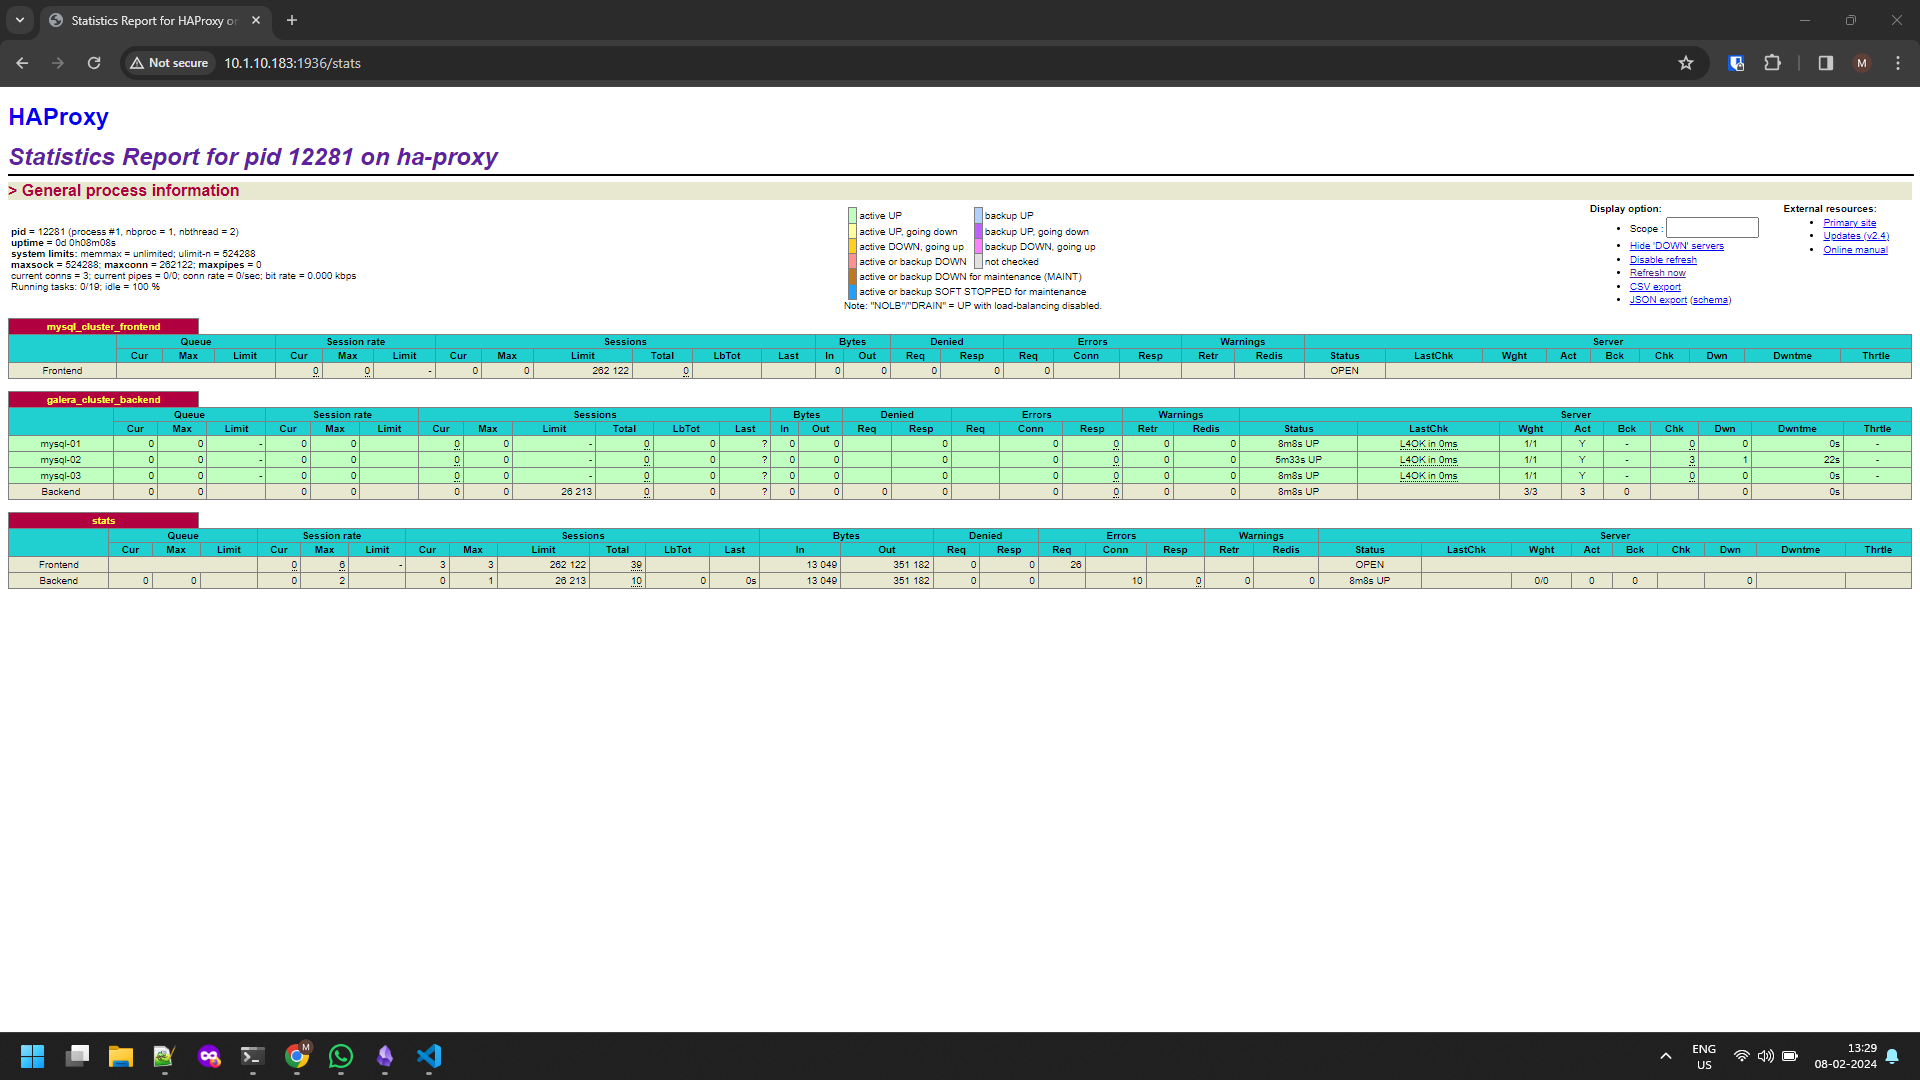
HAproxy Stats
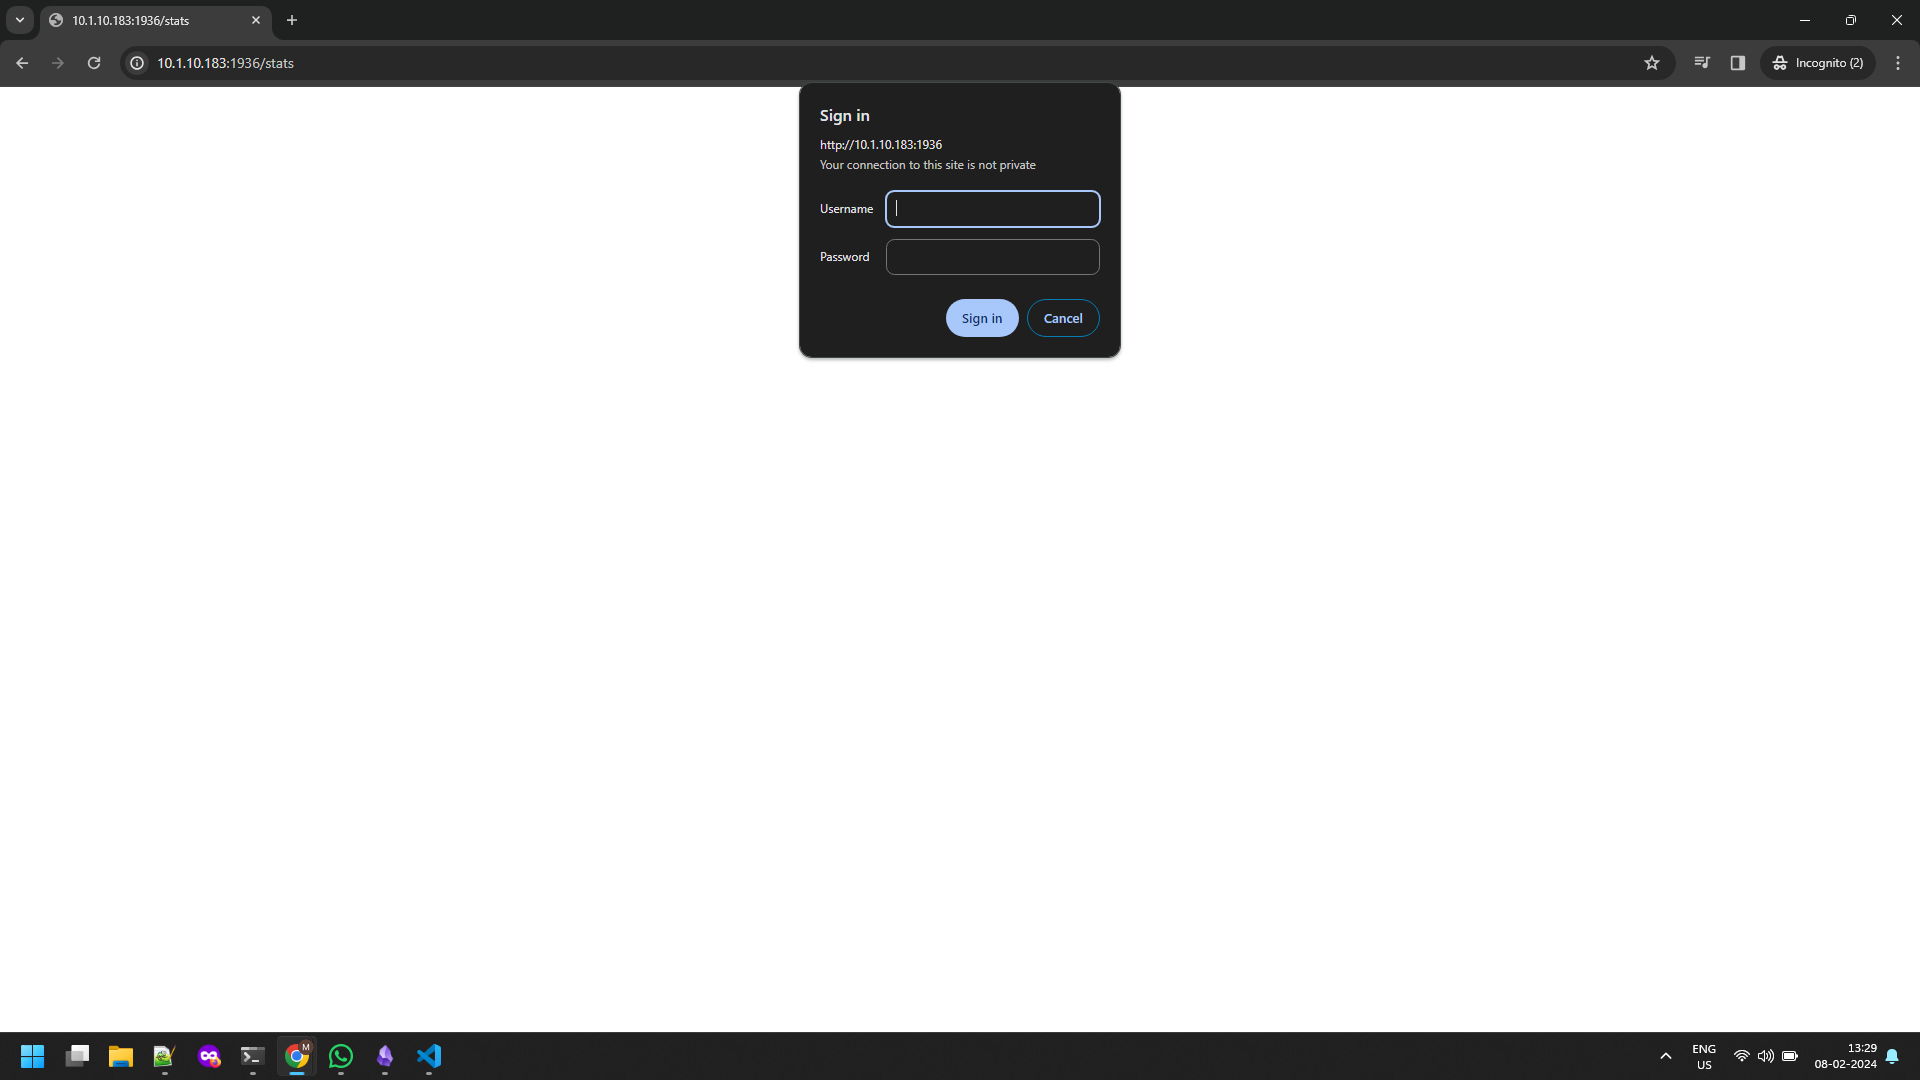
To get the HAproxy stats in the browser, You need to open the given url with port.
http://localhost:1936/stats or http://IP_Address:1936/stats along with your username with password.
That’s it. Connect to Loadbalancer VM IP address : 3306 and you should now have a Highly Available MySQL Cluster with Galera.